How to Connect Asana with Robonito: A Complete Integration Guide
Keeping projects on track means managing tasks well. Asana helps you organize your work. Robonito lets you automate repetitive testing and workflows.

Introduction
Keeping projects on track means managing tasks well. Asana helps you organize your work. Robonito lets you automate repetitive testing and workflows. When you connect Asana with Robonito, you can make task management easier. Your team will get updates automatically, and you will save time on manual work.
In this guide, you will see how to link Asana with Robonito step by step. You will learn to set up a workflow where tasks, updates, and notifications stay in sync. Projects, big or small, will run smoothly and stay organized with this integration.
Asana Integration
Asana is a web and mobile platform for managing work. It helps teams plan, organize, and track projects and tasks. You can assign tasks, set deadlines, and communicate with team members in one place. It offers task management, project views like boards and timelines, automated workflows, and reporting tools. These features help connect daily work to company goals.
Integrating Asana with Robonito brings the best of both.
- Automatic Updates: When a test or workflow finishes in Robonito, the linked task in Asana updates automatically.
- Team Collaboration: Everyone sees the latest updates. Miscommunication is reduced.
- Save Time: Automation removes the need for manual tracking. Your team can focus on key tasks.
- Reduce Errors: Automatic updates keep data accurate.
- Smooth Workflows: Robonito processes can trigger Asana updates. Approvals and tasks move automatically.
Connecting Robonito with Asana
This guide explains how to connect your Asana account with Robonito. Follow each step carefully to complete the integration and set up your configuration.
Step 1: Log in to your Robonito account
- Open your browser and go to the Robonito website.
- On the login screen, enter your registered username and password.
- Click on the Login button to continue.
- Once you log in successfully, you will reach the Robonito dashboard.
- The dashboard is your main workspace where you can view your test projects, monitor progress, and access different features.
- On the left-hand side of the screen, you will see the navigation menu. This menu includes various options like Projects, Reports, Settings, and Integrations.
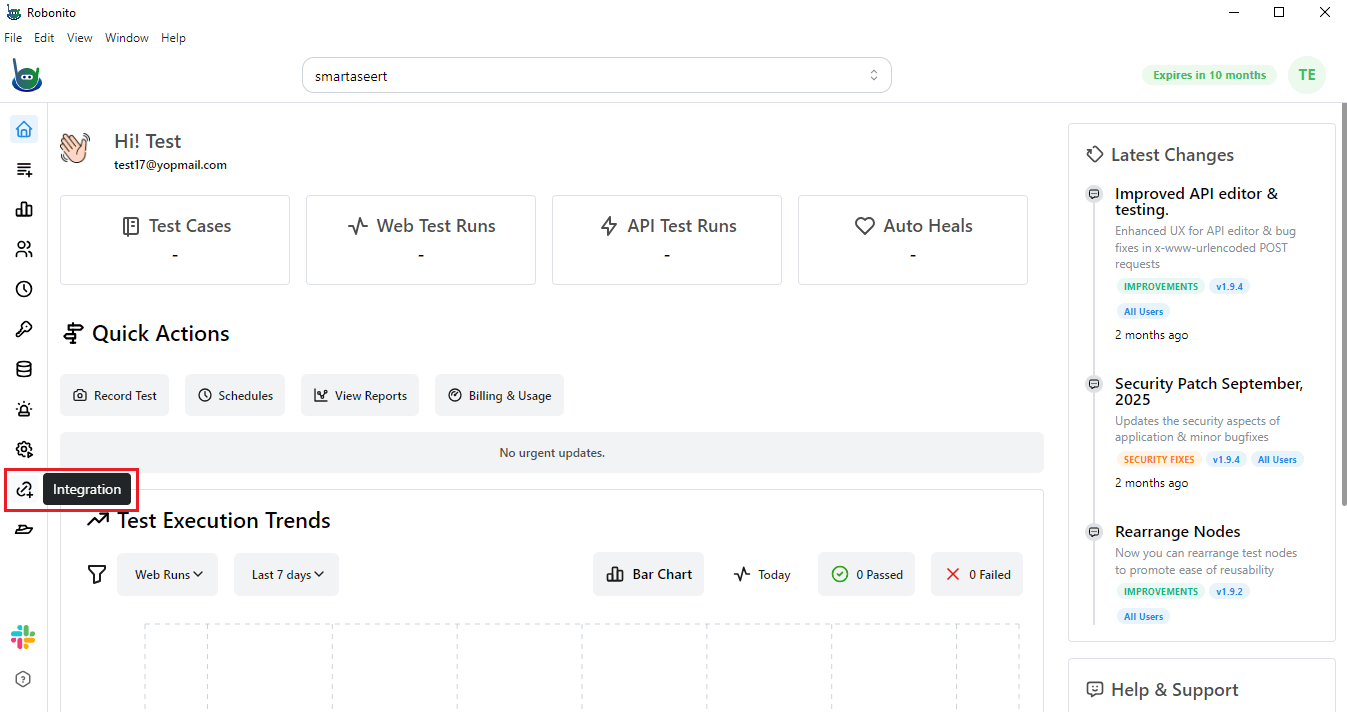
Step 2: Open the Integrations section
- From the left navigation panel, click on Integrations.
- This will redirect you to the Integrations page.
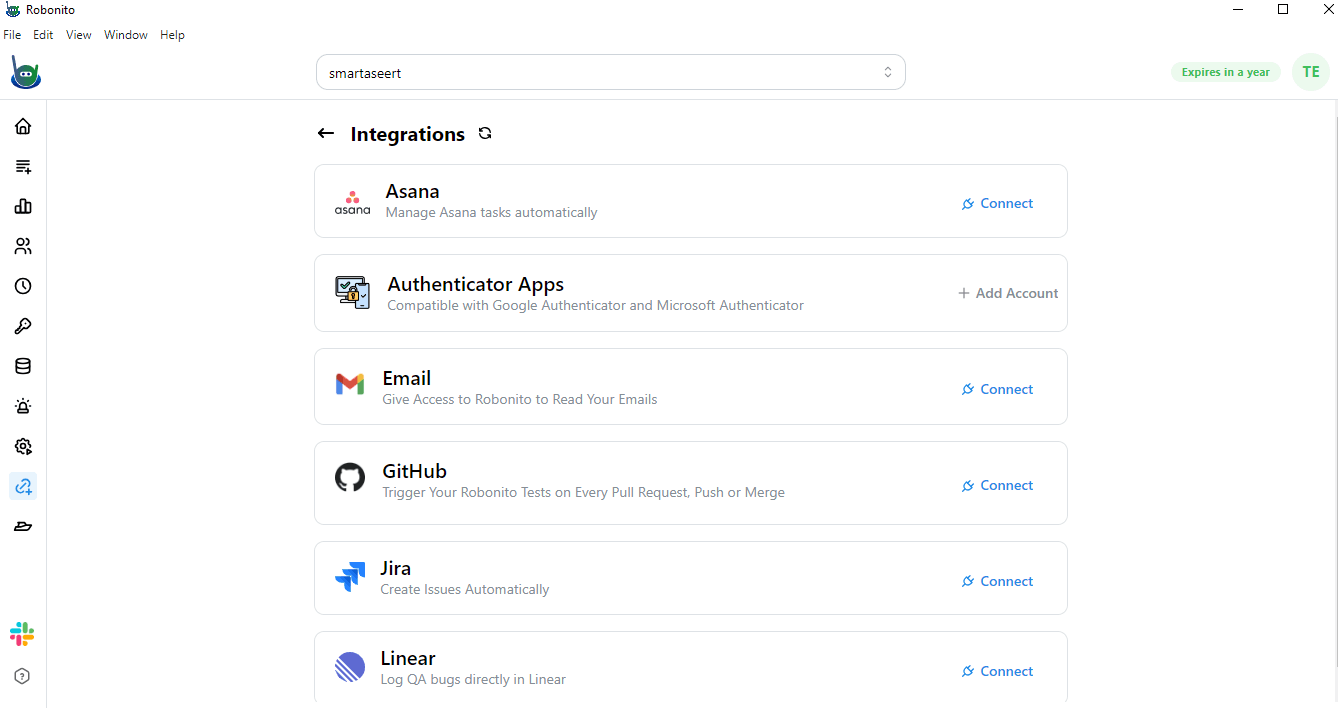
- On this page, you will find a complete list of third-party applications that can be connected with Robonito.
- Each listed application represents a different tool that can be integrated for better workflow management.
- You will also notice an action button, usually labeled Connect, beside each application name.
Step 3: Locate Asana in the list
- On the Integrations page, scroll through the list of available applications.
- Look for Asana, which will usually appear near the top of the list.
- Next to Asana, you will find a Connect button.
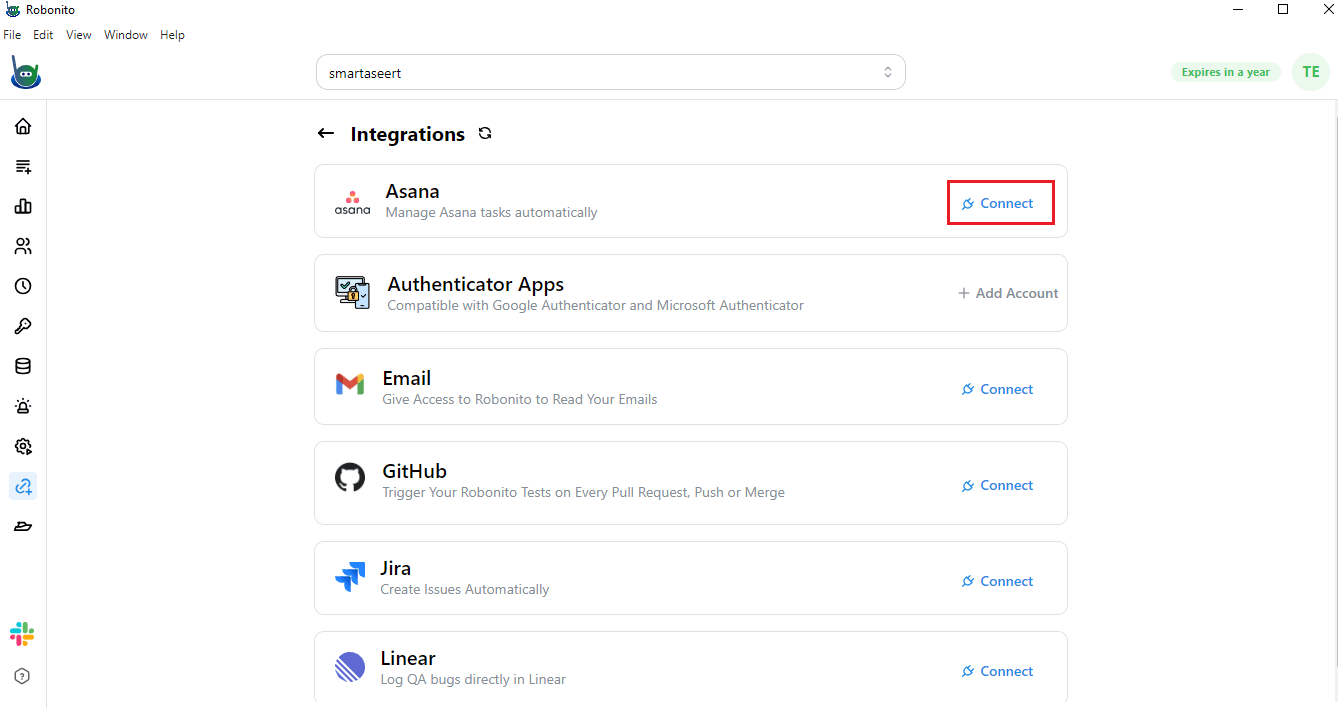
- Click on this button to start the Asana integration process.
- Once you click it, Robonito will prepare to connect with your Asana account by opening a new window.

Step 4: Sign in to your Asana account
- After clicking Connect, a new Asana login window will open automatically.
- This window will ask you to log in to your Asana account.
- You can sign in using your Gmail or any other account that you normally use to access Asana. Then click on Continue.
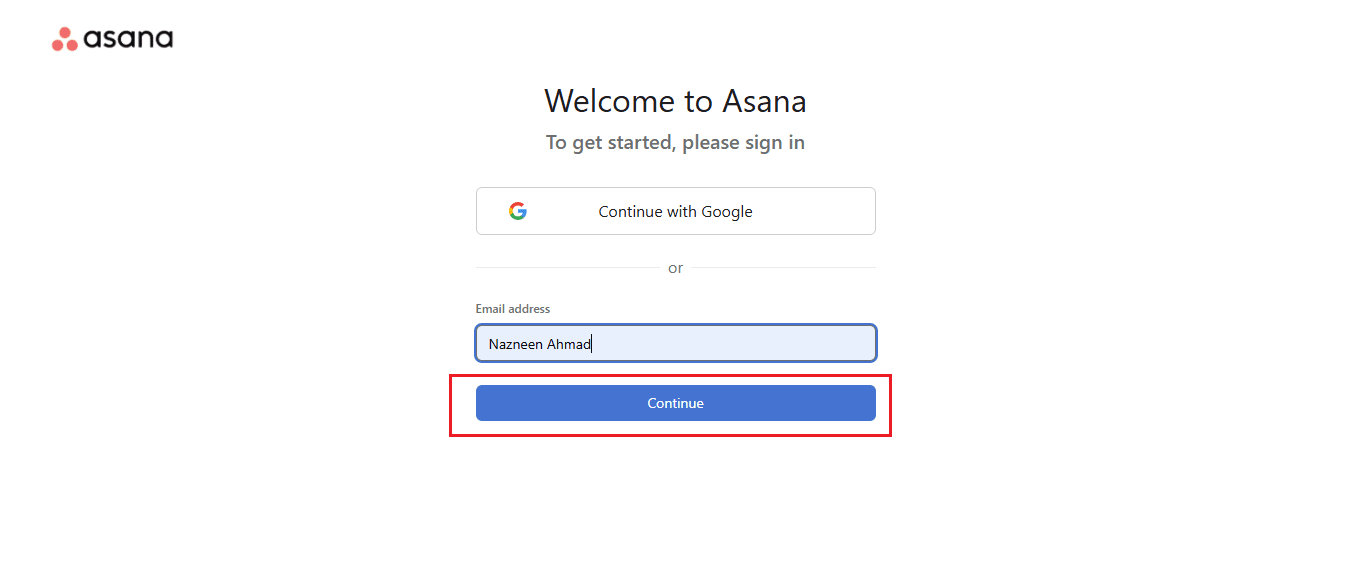
- Enter your Asana credentials (email and password) in the required fields which will lead to Asana page.
- If you are already signed in to Asana on the same browser, this step might be skipped automatically.
- Once you log in successfully, Asana will authenticate your credentials and redirect you back to the Robonito connection page.
Step 5: Confirm the connection
- After the Asana login is successful, return to your Robonito screen.
- You might be prompted again to click the Connect button.
- Click on it once more to link Robonito and Asana.
- This second confirmation step helps Robonito verify that it has access to your Asana account before finalizing the connection.
Step 6: Grant Robonito permission to access Asana
- Once you confirm the connection, a permission request window will appear.
- This window is from Asana, asking you to grant access to Robonito.
- The permission allows Robonito to perform necessary actions such as creating, reading, or managing tasks in your Asana workspace.
- Carefully review the permissions being requested.
- After reviewing, click on the Allow button.
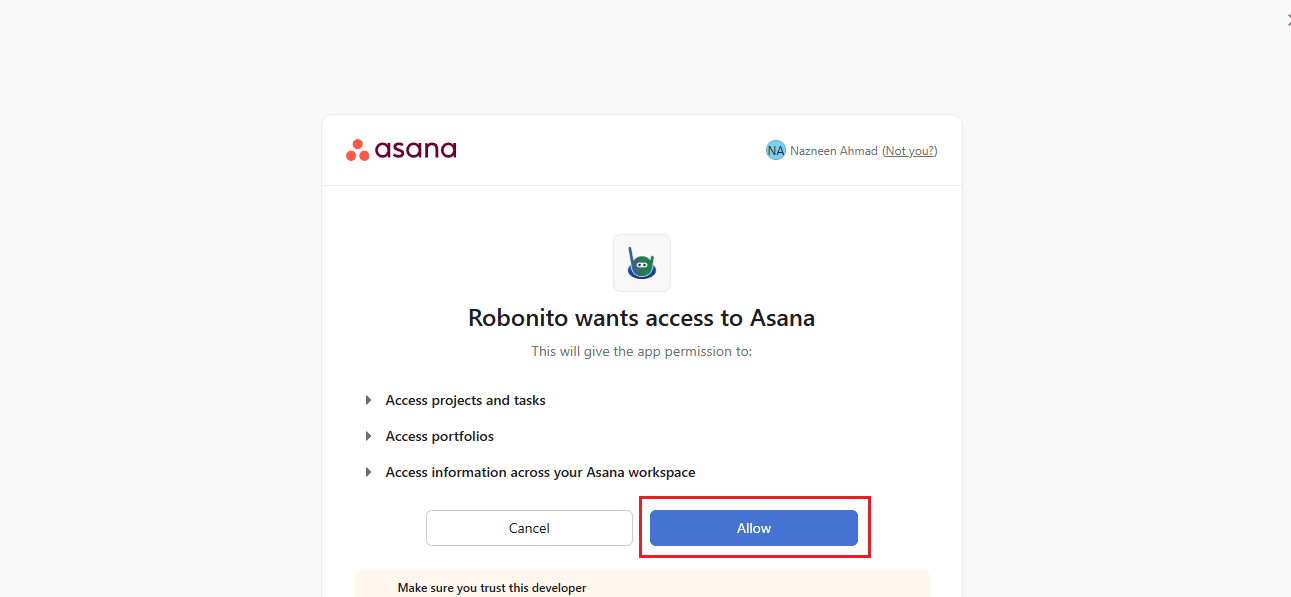
- Once you allow access, the connection between Robonito and Asana will be successfully established.
- You can now move to the next stage, which is configuration.
Step 7: Open the configuration settings
- Now that the connection is successful, it is time to configure your integration settings.
- Go back to the Integrations section from the left navigation panel.
- You will now notice that the Asana section displays a Configure button and Connected.
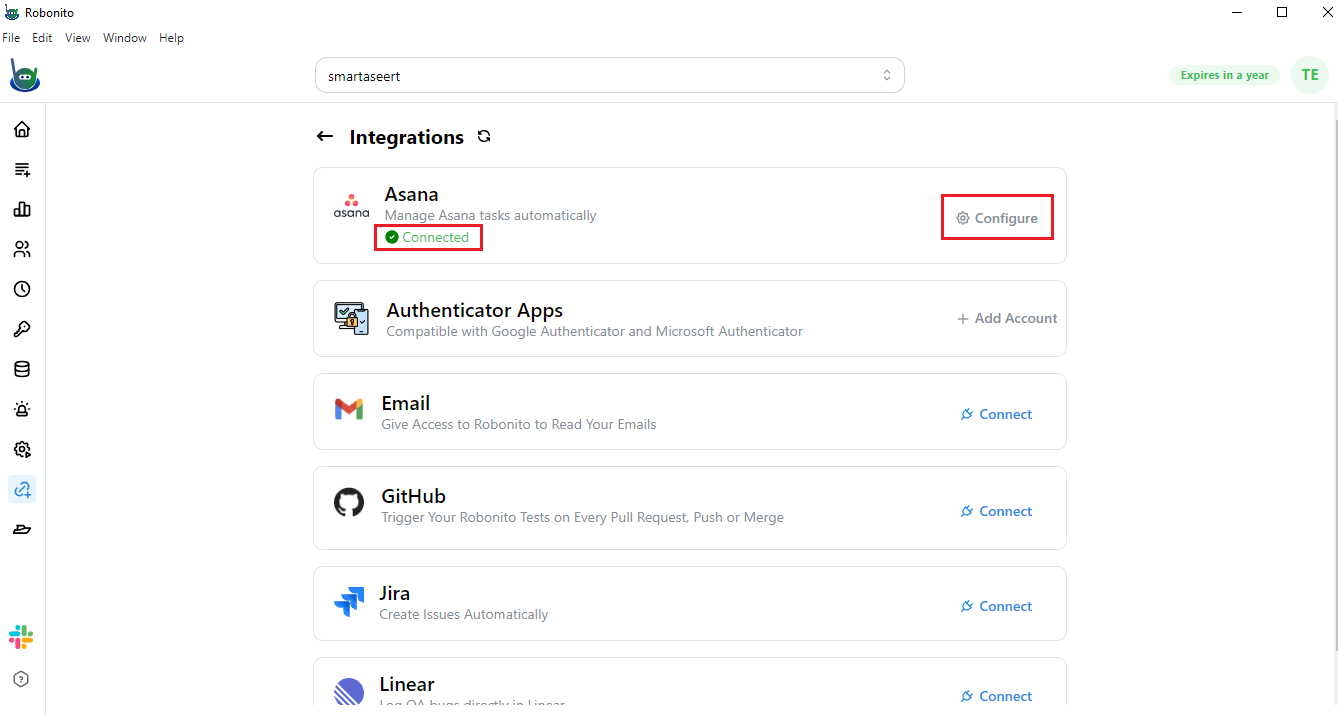
- Click on the Configure button to open the configuration window.
Note: This step is important because configuration ensures that the right workspace, project, and assignee are linked between Robonito and Asana. Without proper configuration, tasks may not be created in the correct Asana project or may not reach the right assignee.
Step 8: Add your Asana configuration details
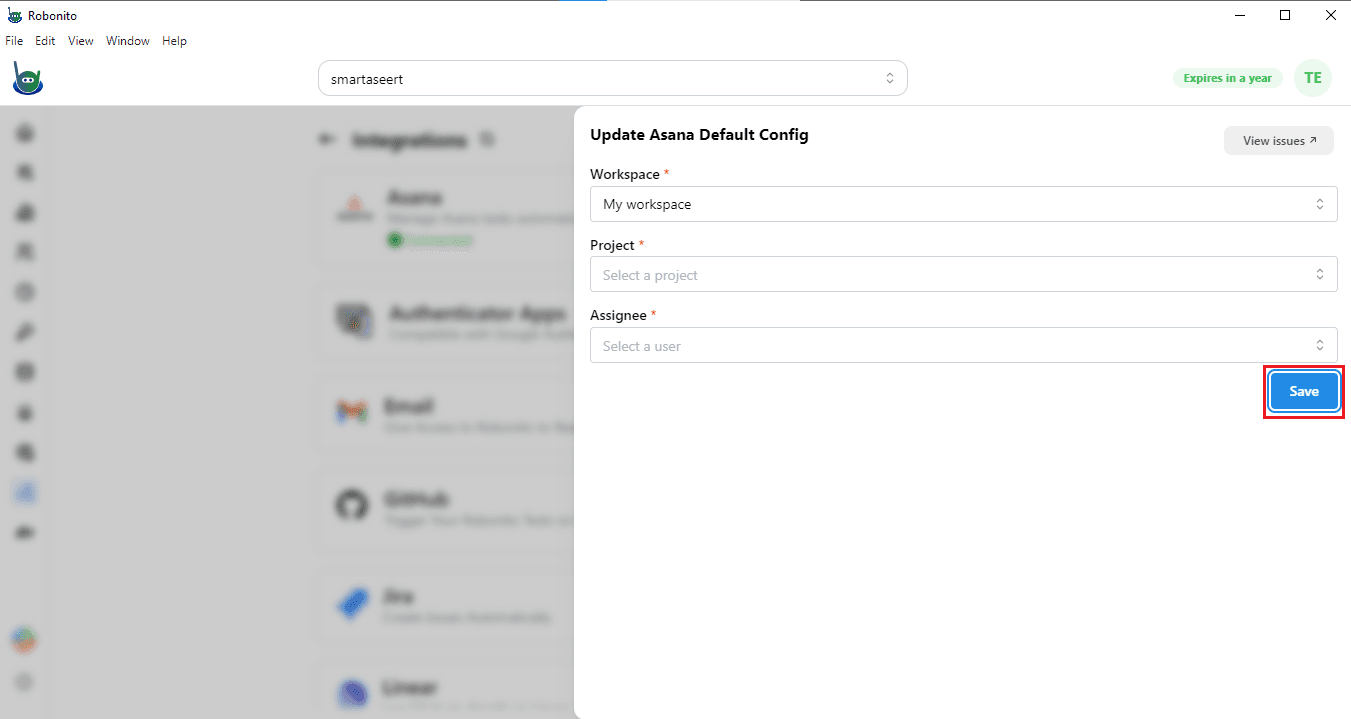
- In the configuration window, you will see several input fields.
- Start by entering your Workspace Name — this tells Robonito which Asana workspace to connect with.
- Next, add the Project Name — the specific project in Asana where Robonito will send or create tasks.
- Then, enter the Assignee Name — the person who should receive the assigned tasks.

- Double-check all entered information to make sure the spelling and names match your Asana setup.
- After entering all the required fields, click on the Save button at the bottom of the screen.
- Once saved, Robonito will automatically store your Asana configuration settings.
Step 9: Verify the integration setup
- After saving the configuration, your Robonito account will now be fully connected with Asana.
- To verify that the integration is working properly, you can perform a simple test.
- Create a test task inside Robonito.
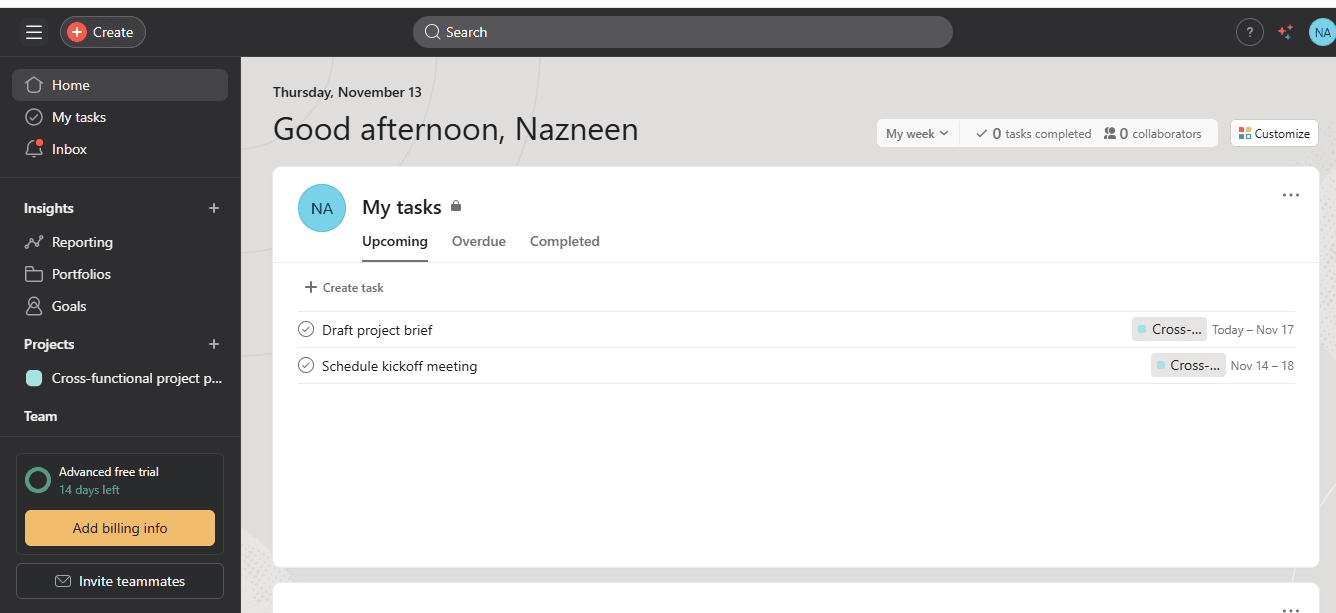
- Once the task is created, open your Asana account and go to the configured project.
- Check if the test task appears in your Asana project with the correct assignee and details.
- If the task appears correctly, the integration has been set up successfully.
- If it does not, recheck your workspace, project, and assignee names in the configuration section and try saving again.
Start automating with Robonito today!
Easily connect your favorite tools like Asana and manage all your workflows from one place. Sign up with Robonito to experience faster, smarter automation for your testing and task management.