Shift from Manual Testing to Automation Testing in Robonito
This tutorial gives you a simple introduction to getting started with Robonito. For anyone who is beginning to use the platform for testing, this guide will ma...

Introduction
This tutorial gives you a simple introduction to getting started with Robonito. For anyone who is beginning to use the platform for testing, this guide will make the process easier. You will go through the key steps, basic concepts, and main features in Robonito. It will show you how to set up projects, create and check test cases, debug them, schedule runs, and carry out executions smoothly.
Prerequisites
Before you start using Robonito, there are a few basic things you need to have in place. Setting these up will make sure the platform runs smoothly on your system.
System Requirements of Robonito
Robonito works on standard systems, so you do not need anything advanced. A computer with Windows or Mac, a stable internet connection, and enough storage space to install the setup file is enough to begin.
Installation Guide
- To install Robonito, go to the official website: https://robonito.com/
- On the website, you will see download options for Windows and Mac (Intel/Silicon). Pick the one that works for your computer. Click to start the download.
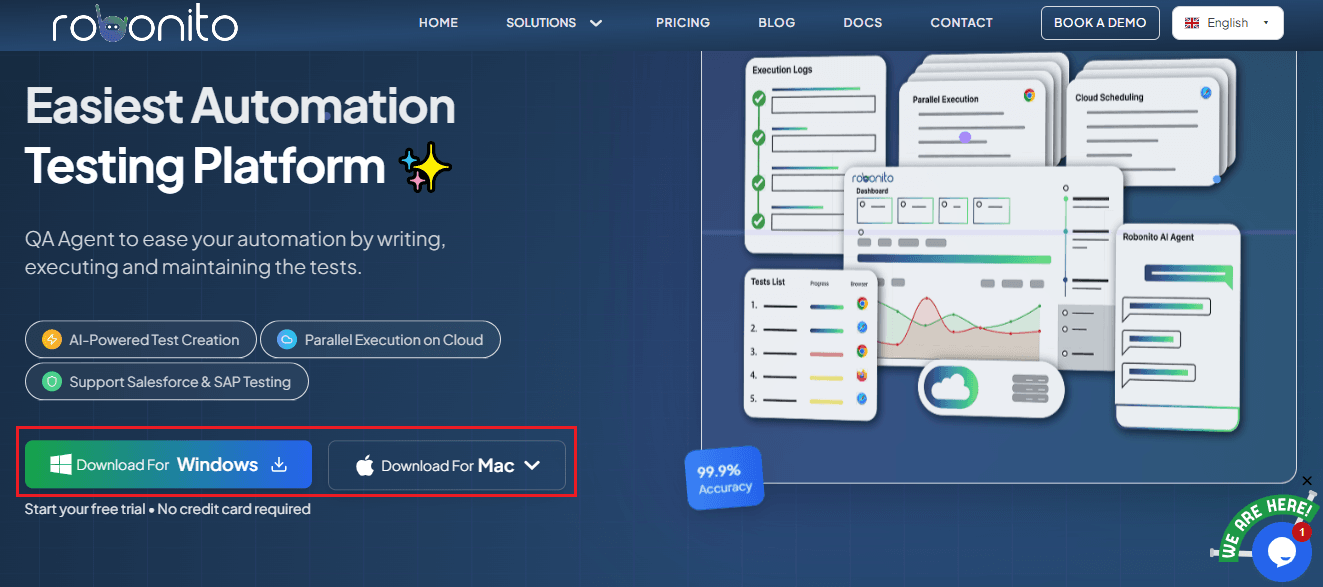
- When the file is done downloading, open it. Now you have to run the installer. Follow the steps carefully as shown. The installation will finish, and Robonito will be ready to use.
Sign up and log in
- Open Robonito after installation.
- Log in with your existing account by entering your registered email ID and password.
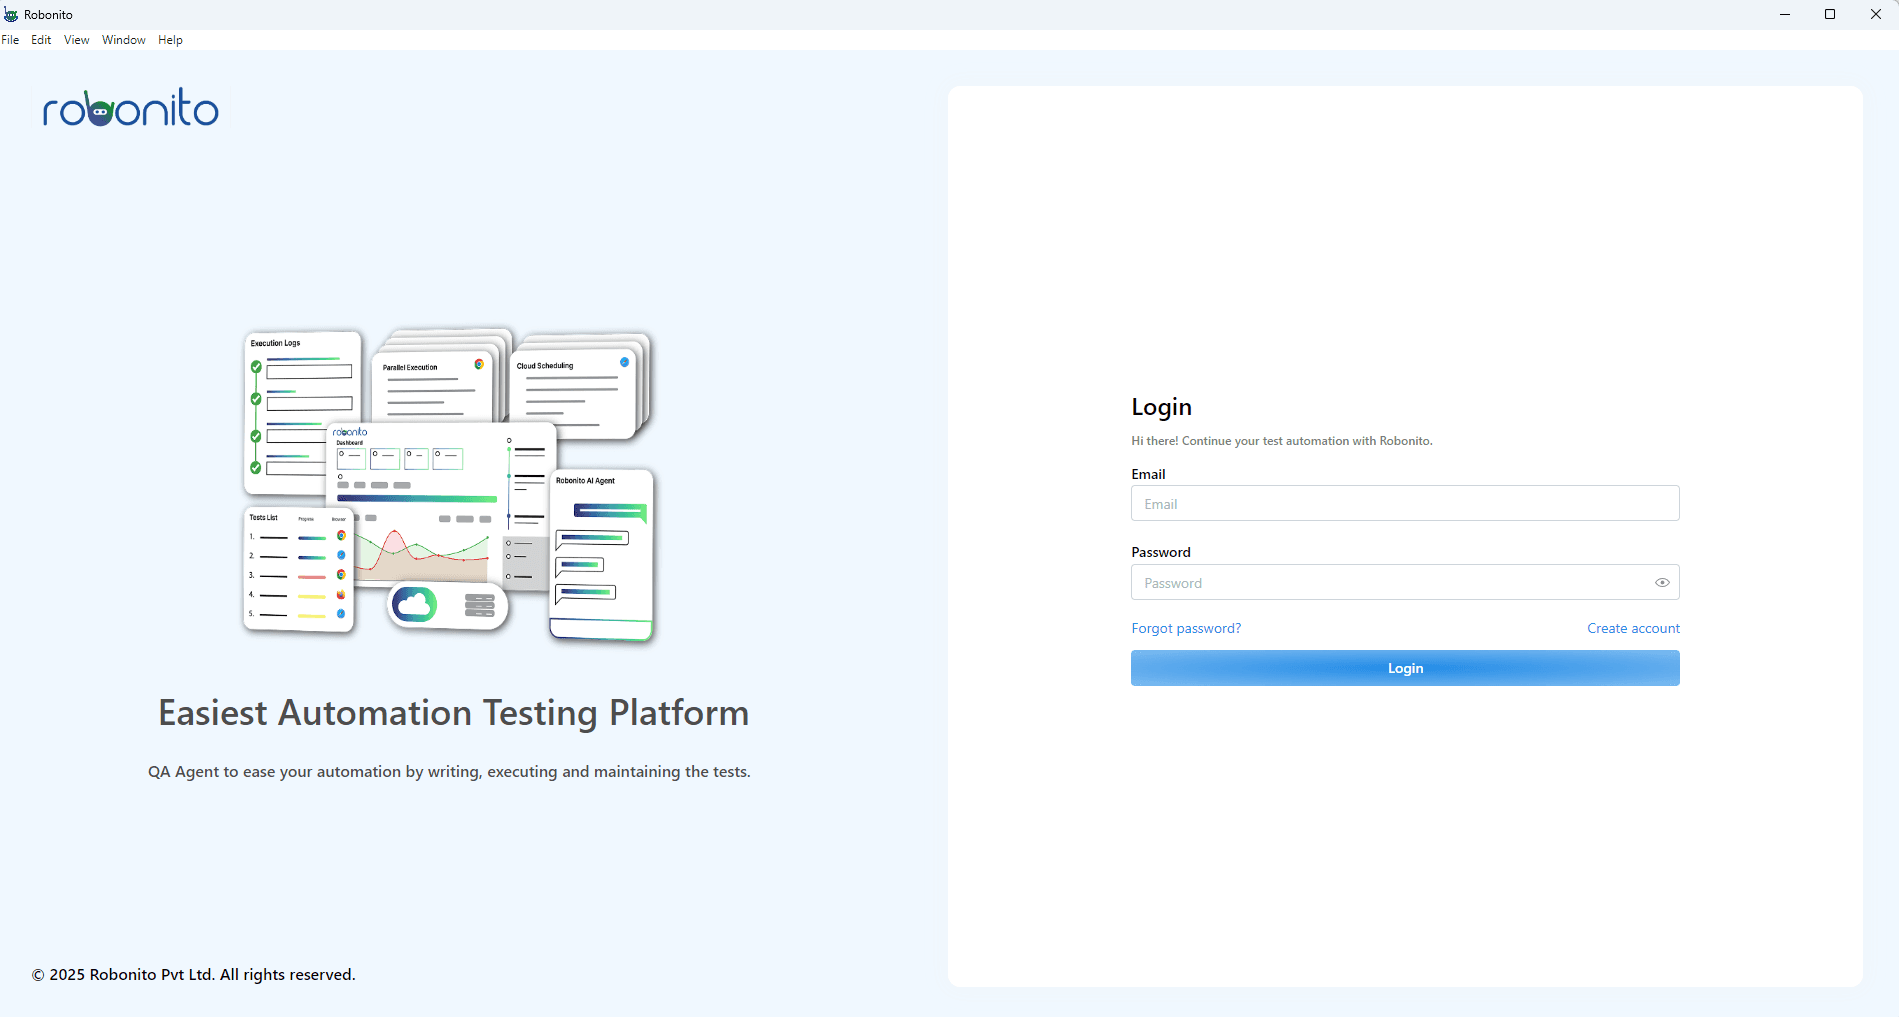
- If you do not have an account, click on Sign Up.
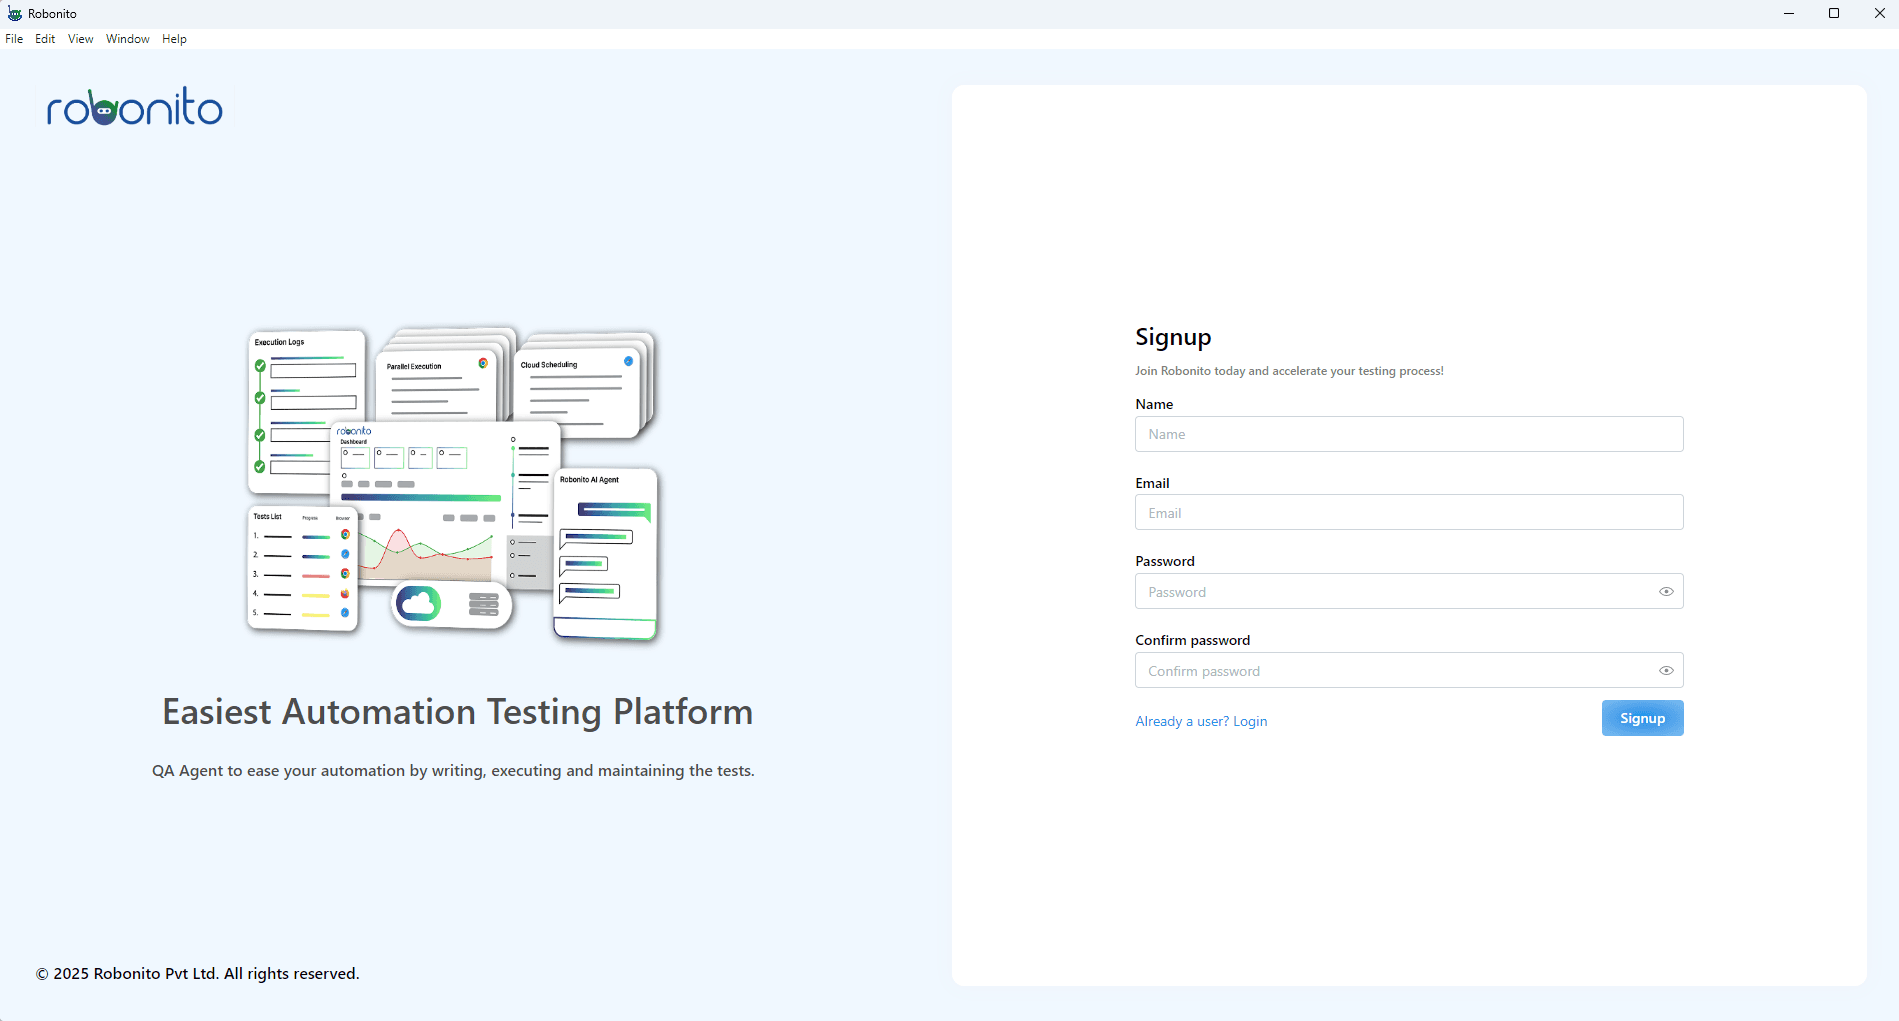
- Enter your email ID
- Choose a password of your preference
- Complete the sign-up process
Robonito is open source and free, and the setup takes only a few minutes.
Getting Started with Automation Testing
Now that you have installed Robonito, let us begin with automation testing. This section will help you understand how to write your very first test. Do not worry if you are new; we will go step by step.
Setting the stage to write the first test case
The workflow in Robonito is simple:
Create Workspace → Create Suite → Add Test Case → Add Test Steps
Let us look at each part in detail.
- Workspace/Project: Think of this as the place where all your tests are stored. For example, if you are testing a website, you can create a workspace with that site’s name.
- Test Case: This is the specific scenario you want to check. For example, testing the login functionality.
- Test Steps: These are the exact instructions the system will follow to test the case.
Step 1: Create Workspace

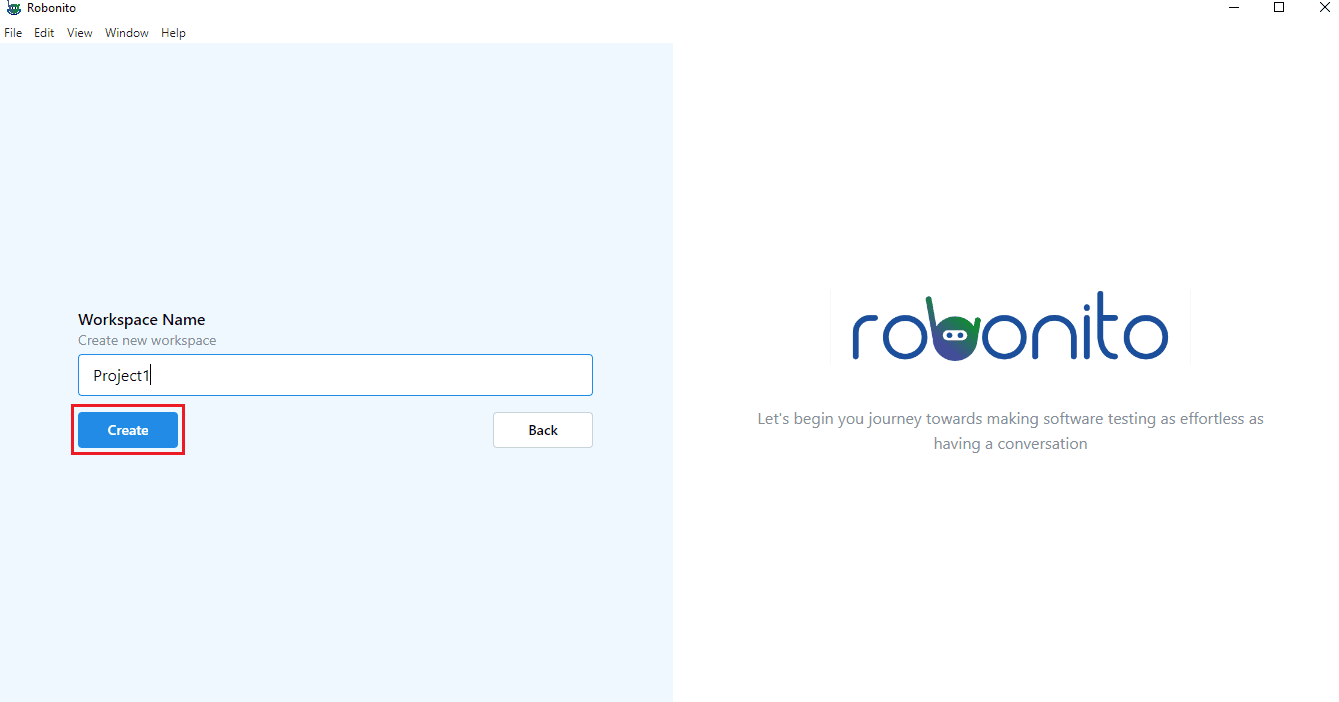
Start by creating a project. Go to the search bar at the top and click on Create New from the dropdown menu.
Enter a name for your workspace and click Create. This will be your project space.
Step 2: Add Test Case
Robonito makes it simple to create automated tests in plain English. This is easy to read and understand.
Here’s how to do it:
- Open Test Explorer from the sidebar.
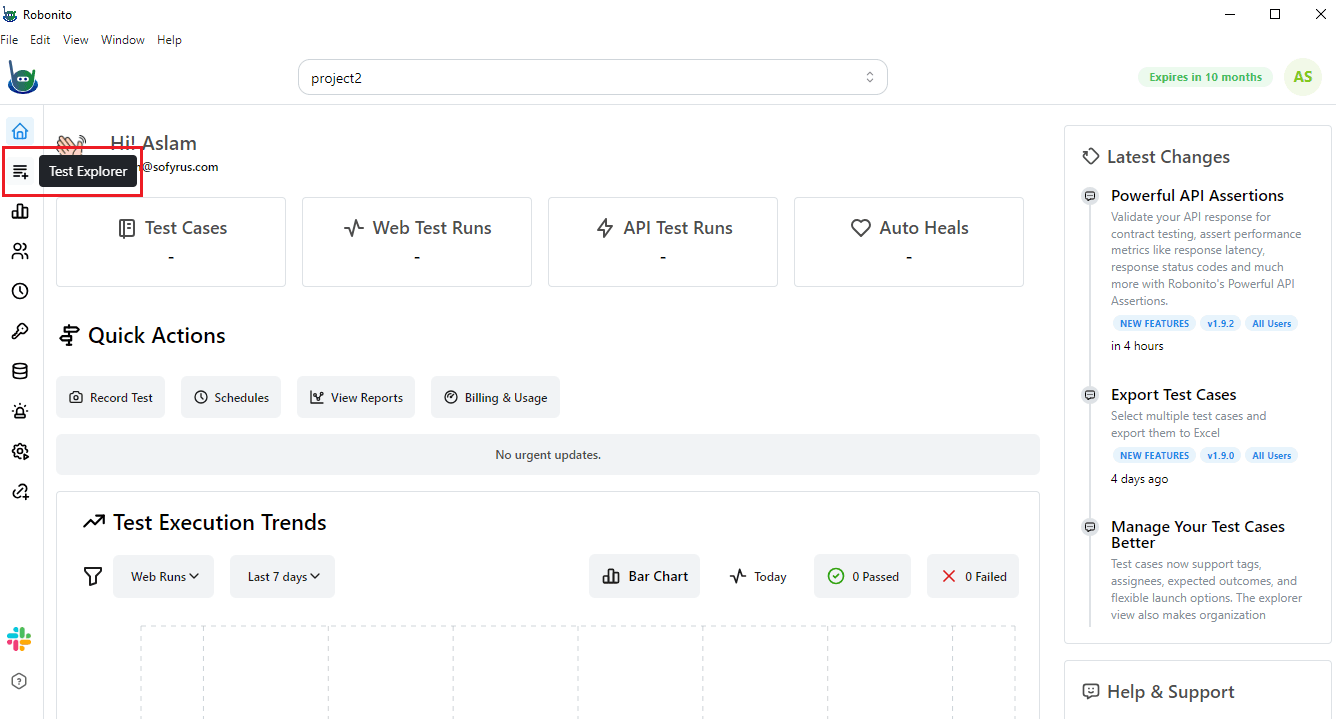
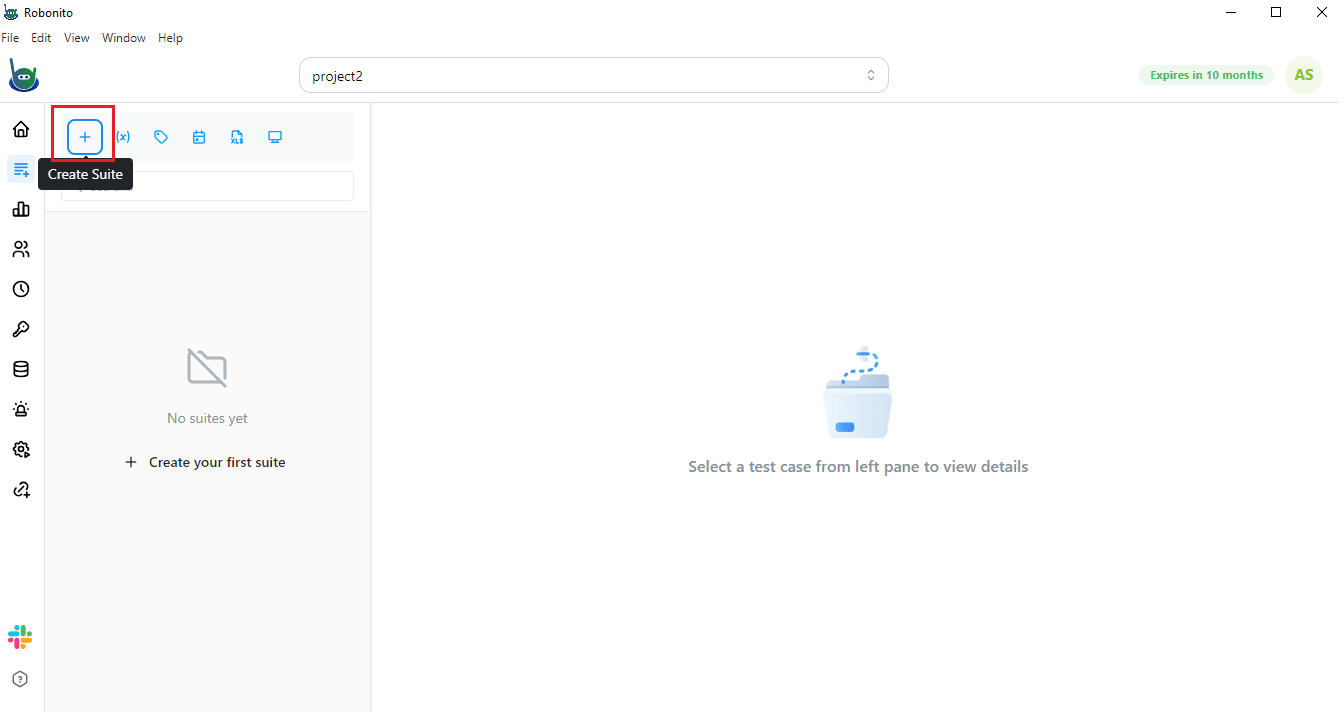
- Click the + sign at the top left corner to create a new Test Suite if you have not done this already. Enter a name for your suite and click Create.
- Inside your suite, click Add Test Case.
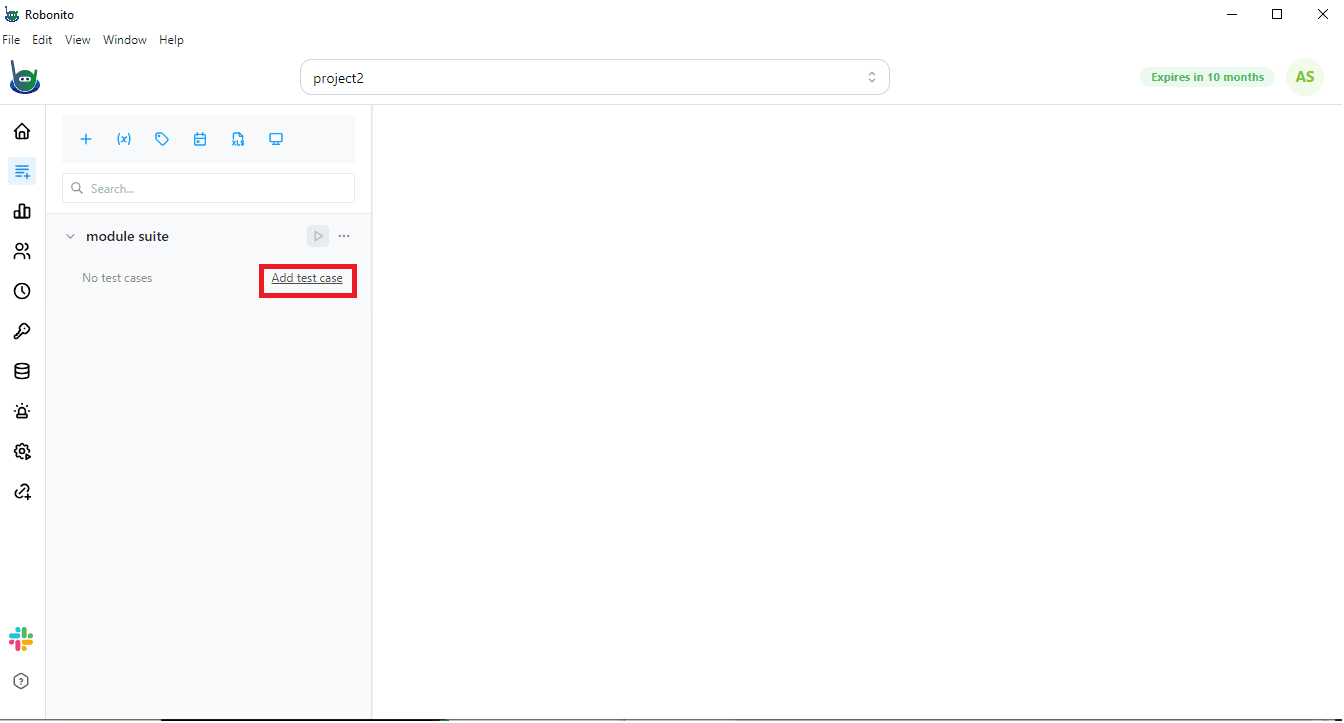
- Fill in the test case details:
- Test Case Name: Give a clear name. Example – Login
- Type: Select the type of test. Choose Web for website testing
- Description: Explain what this test will do. Example – Check login with valid credentials
- Status: Select Draft if it is not ready for execution yet
- Assignee: If you want, assign the test to a QA team member
- Expected Outcome: Write what should happen. Example – It should log in and open the dashboard
- Browser: Select the browser you want to test on. Robonito currently supports Chrome
- Target URL:
https://opensource-demo.orangehrmlive.com/web/index.php/auth/login - Device/Resolution: Pick the device size for testing. Example – Laptop 9 (1024x576)
- Once all details are filled, click Create.
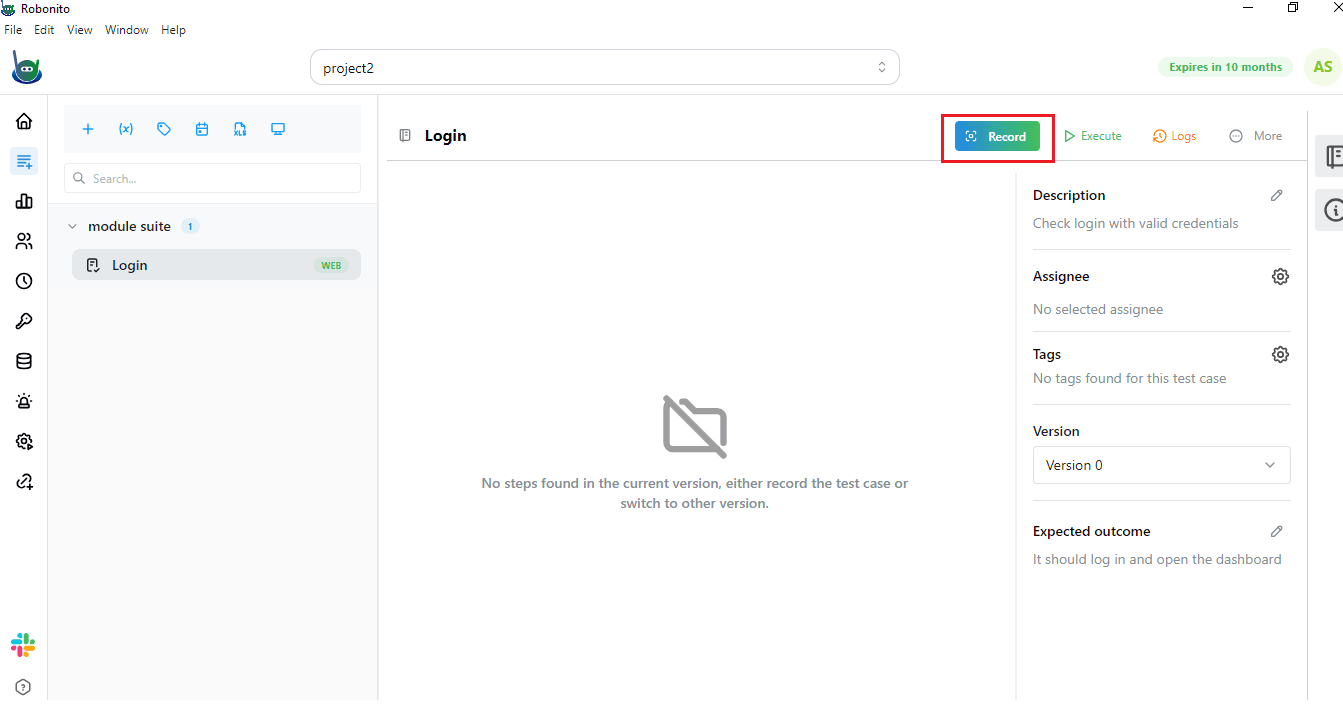
Now your test case is ready. The next step is to record the Test Steps, where you define exactly what actions Robonito should perform to test your scenario.
Step 3: Recording Test Case Using Test Recorder
Before we start recording, understand that Robonito can capture every action you perform on the website. This includes clicks, typing, and navigation. These actions become your test steps automatically.
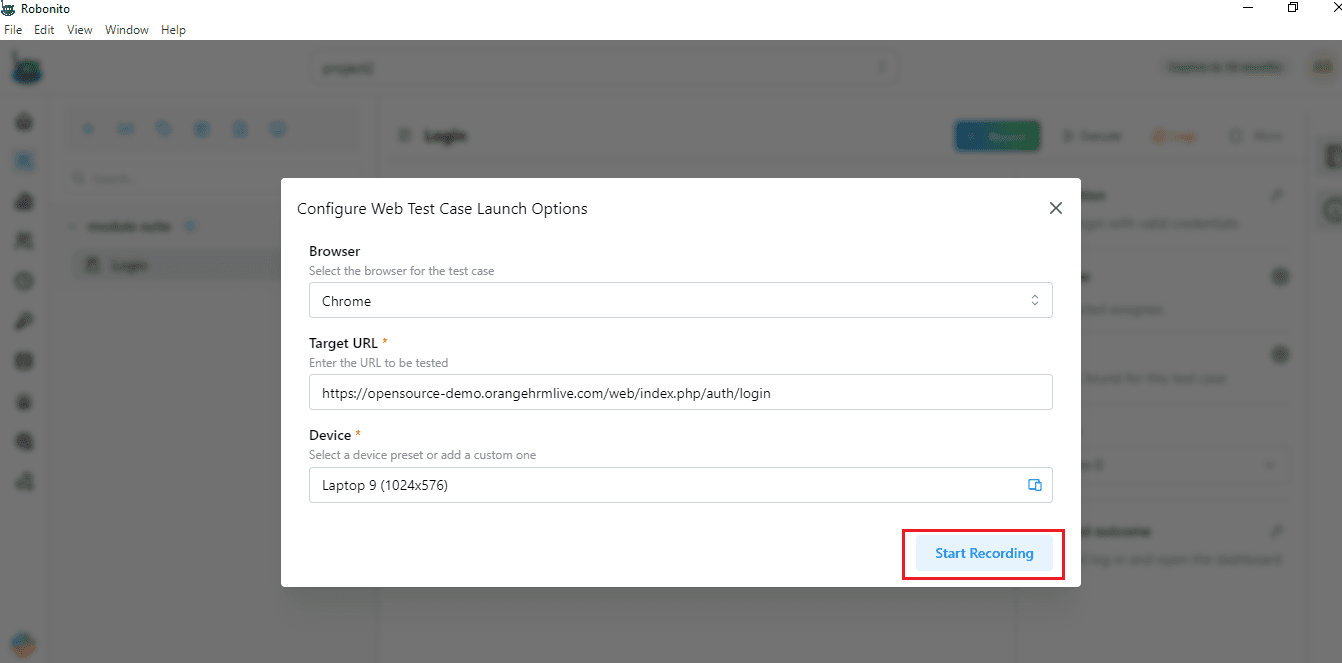
- Click on the Record button on the right. A pop-up will appear called Configure Web Test Case Launch Options.
- Click Start Recording. A new window will open and navigate to the URL you entered in your test case.
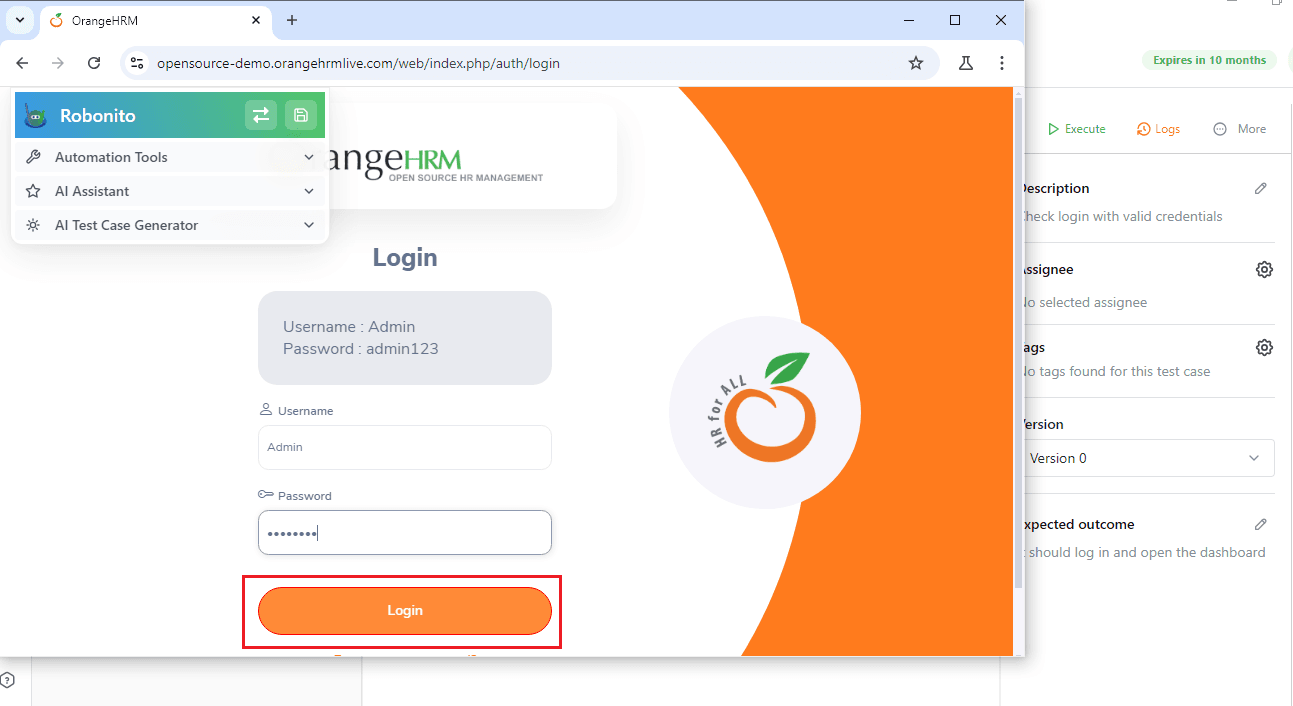
- Perform the actions you want to test. For the login example from Step 2, enter the login ID and password, then log in. Each action is recorded as a step.
Adding Verification (Assertion)
After performing actions, you need to check if they worked correctly. This is done using a verify statement, also called an Assertion.
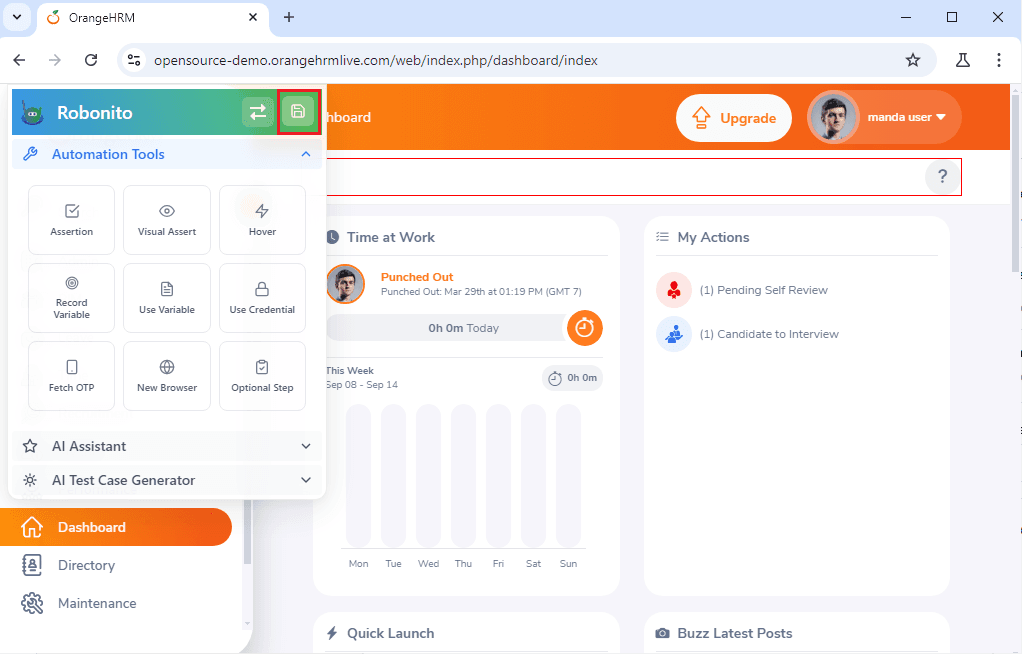
- On the left, click Automation Tool, then select Assertion from the dropdown.
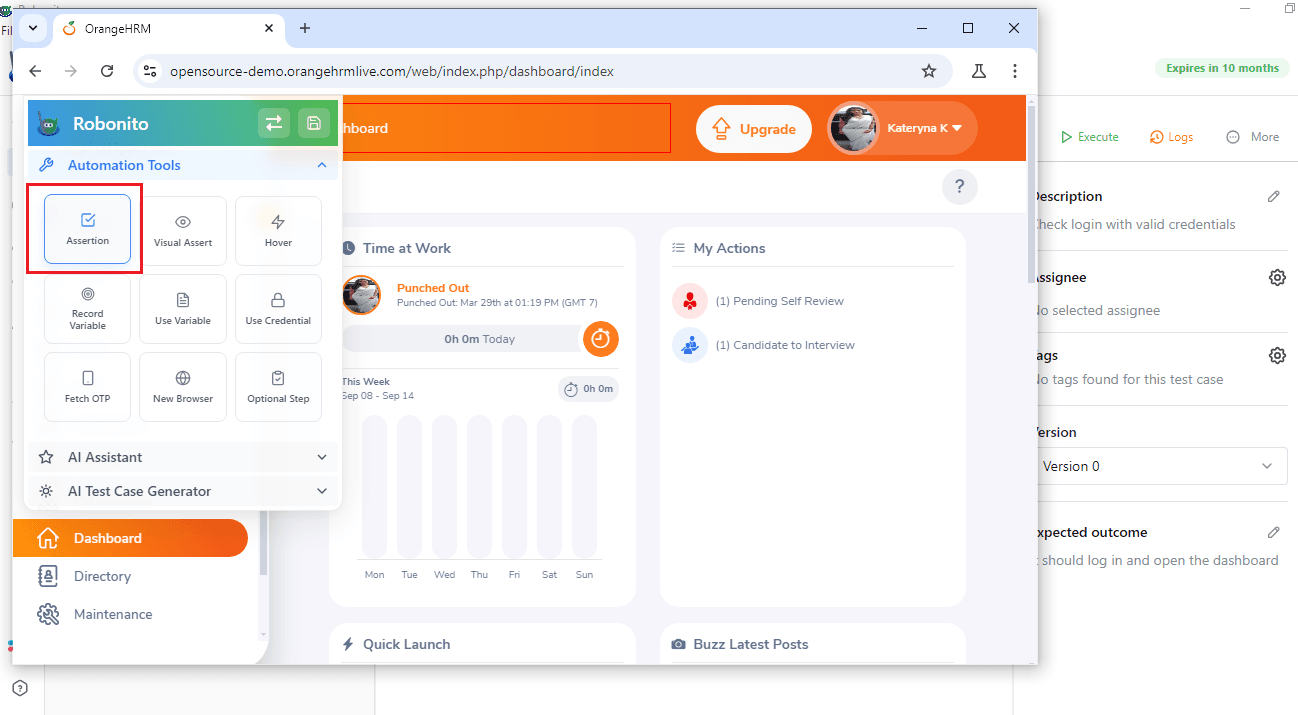
- Click on the text or element you want to verify. For example, the text “Dashboard”.
- A console will appear. Select Assertion Type as Content Based and choose Plain Text. Enter the expected text and match type.
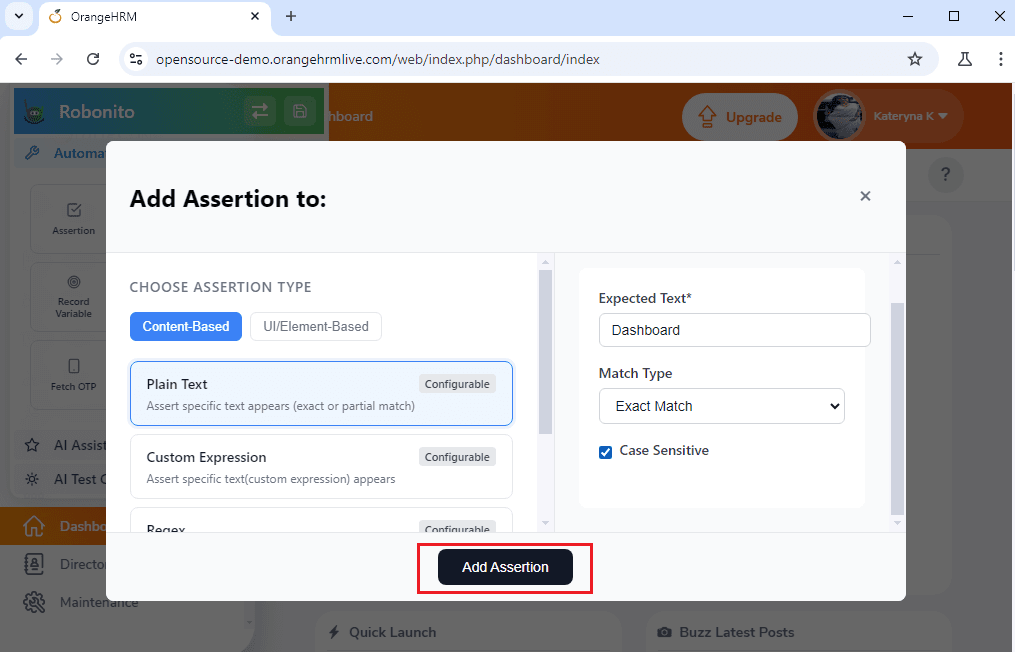
-
Click Add Assertion to save it.
-
Next, under Automation Tool, click Save Icon to save your test case.
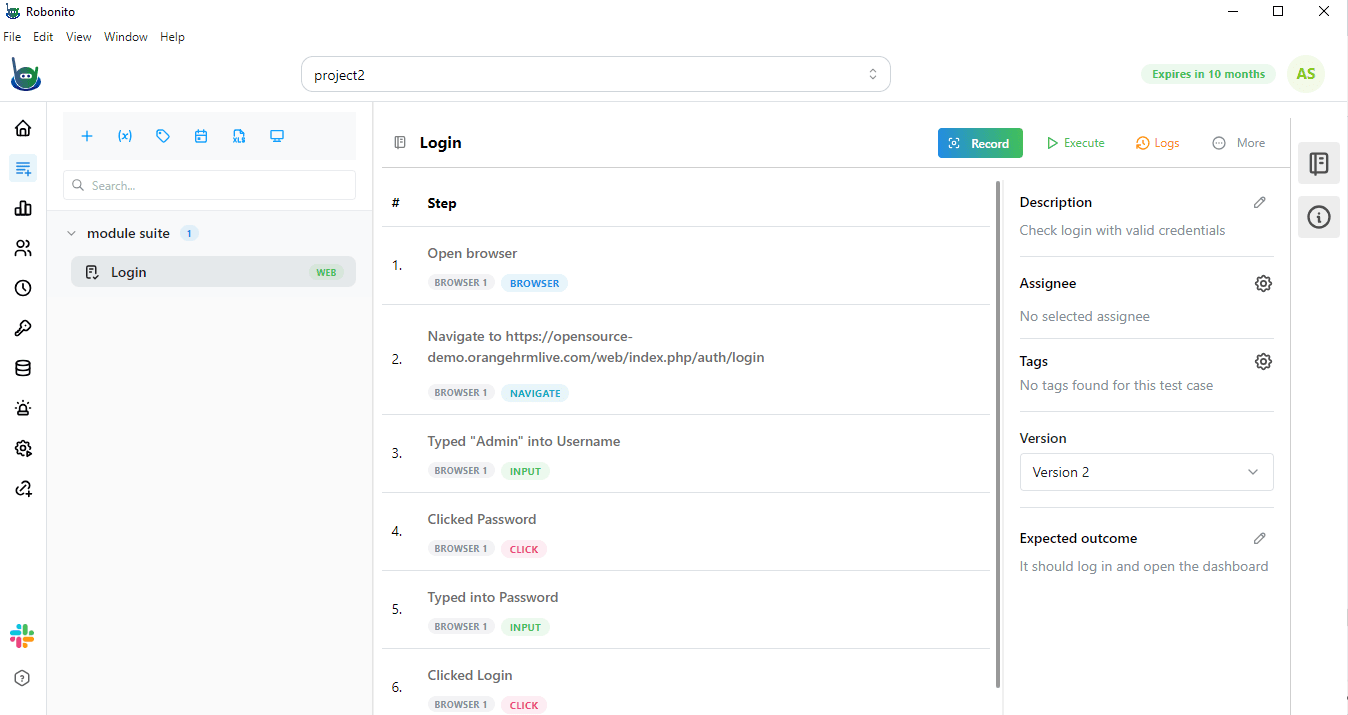
After this, you will be taken to the Test Case Details page. Here, you can see all the steps captured by the recorder.
Step 4: Execution of Test
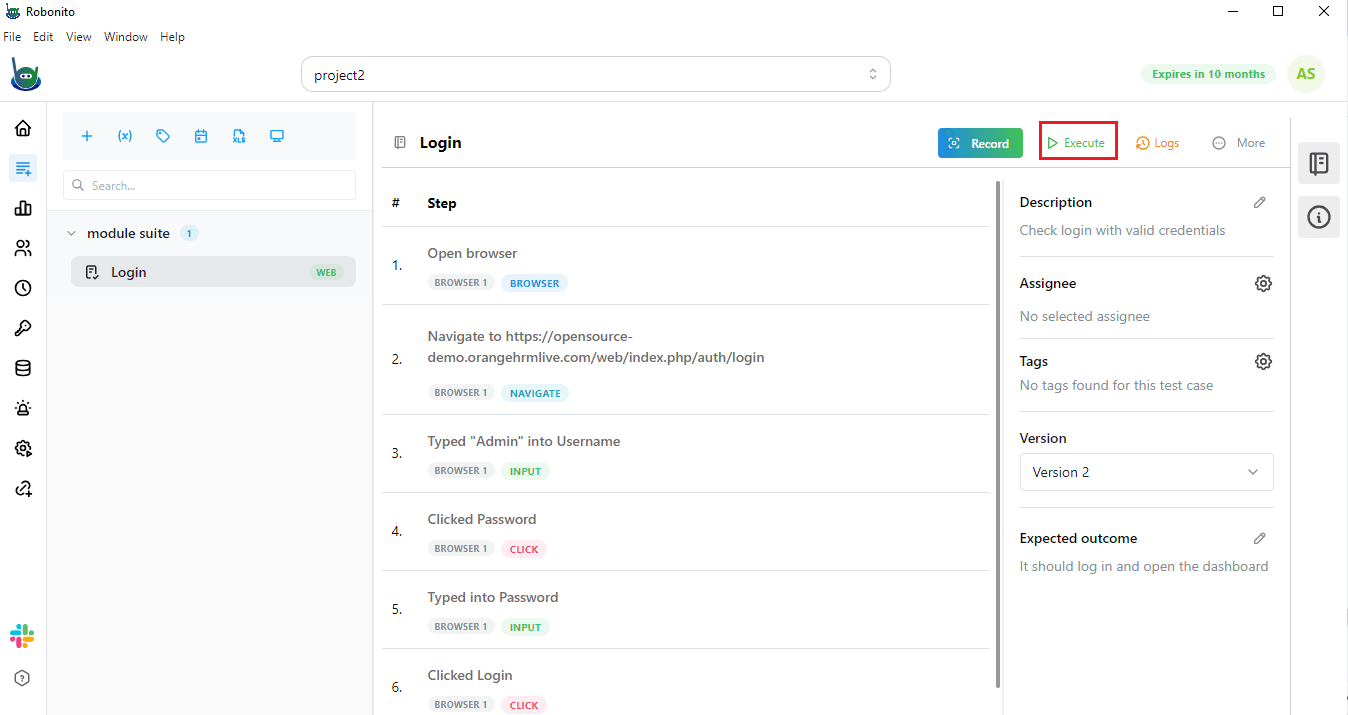
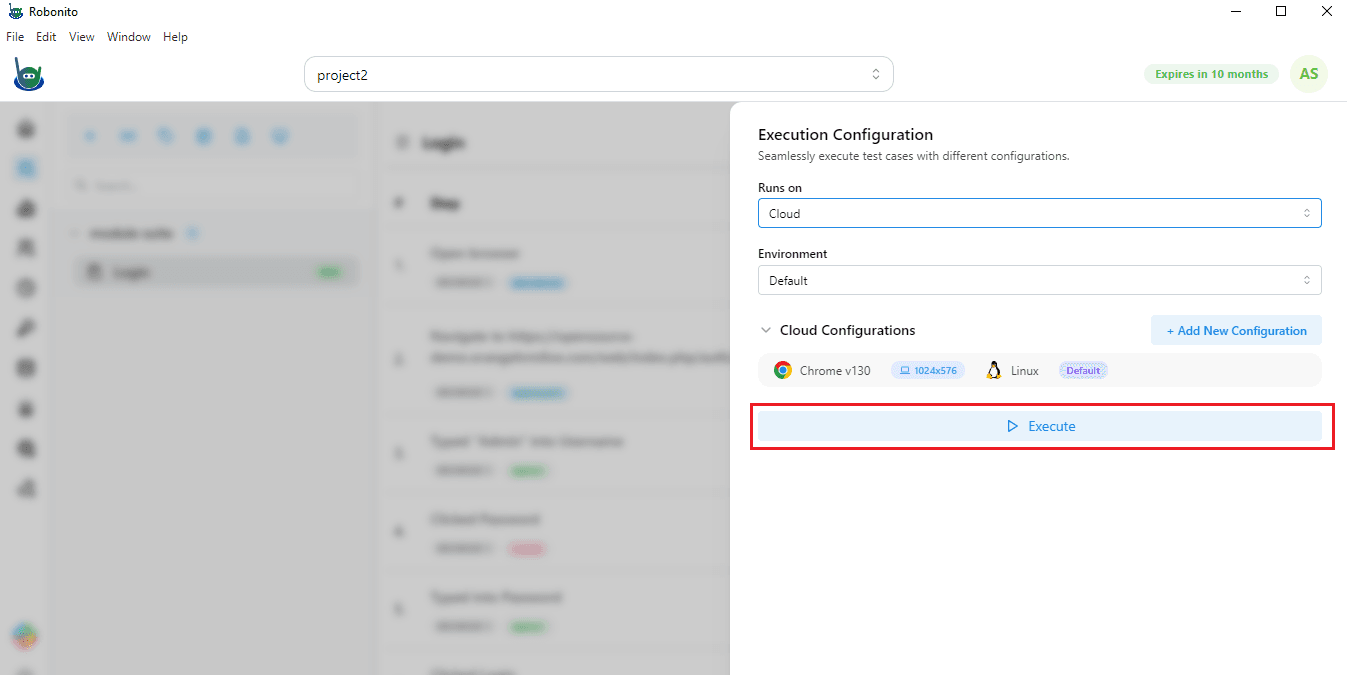
- After recording all steps and preparing your test case, it is time to run it. Click the Execute button on the Test Case Details page. Click on it to start the process.
- After clicking Execute, you need to choose your execution configuration. Robonito gives you two main options. You can run the test locally on your own computer, or you can run it on cloud devices provided by Robonito. For this example, we will select Cloud.
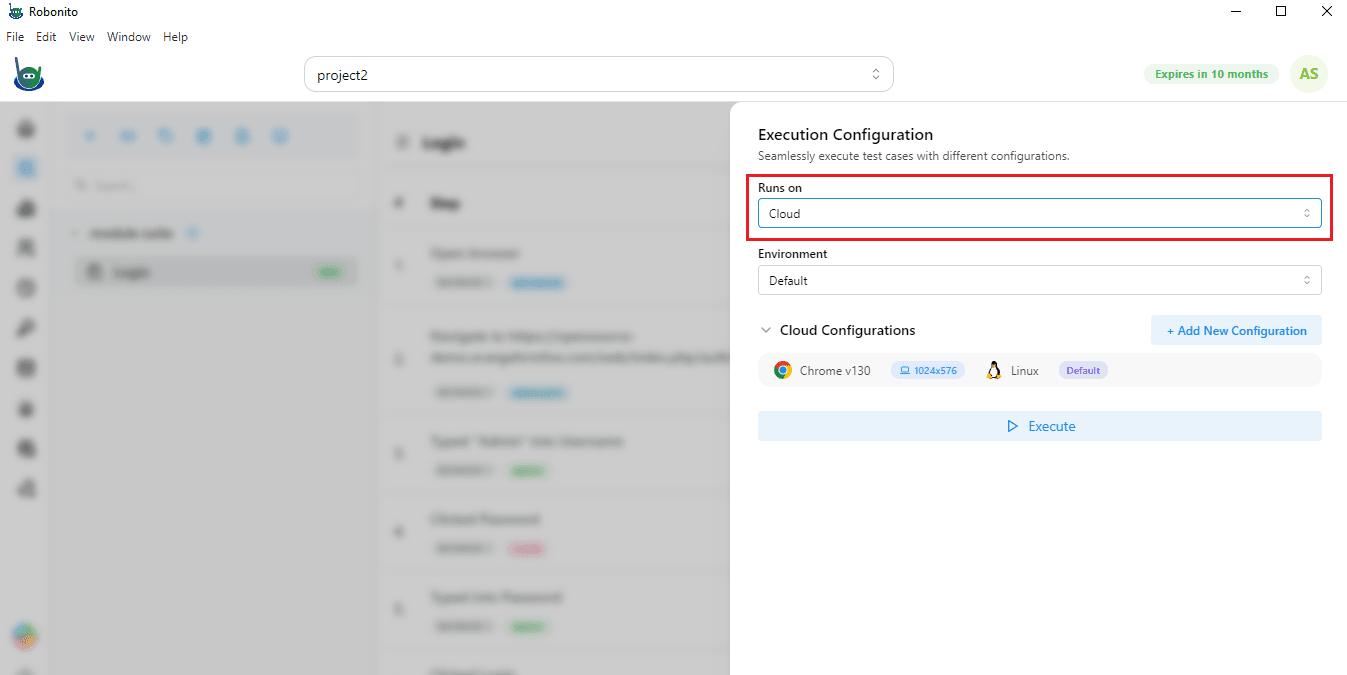
- Once you have chosen your configuration, click Execute again. It will start performing the test automatically.
- Robonito will perform all the steps you recorded, including every input and website interaction.

- The smart recorder captures your actions automatically, showing each step you performed.
- As the test runs, it will keep track of everything and prepare detailed execution logs.
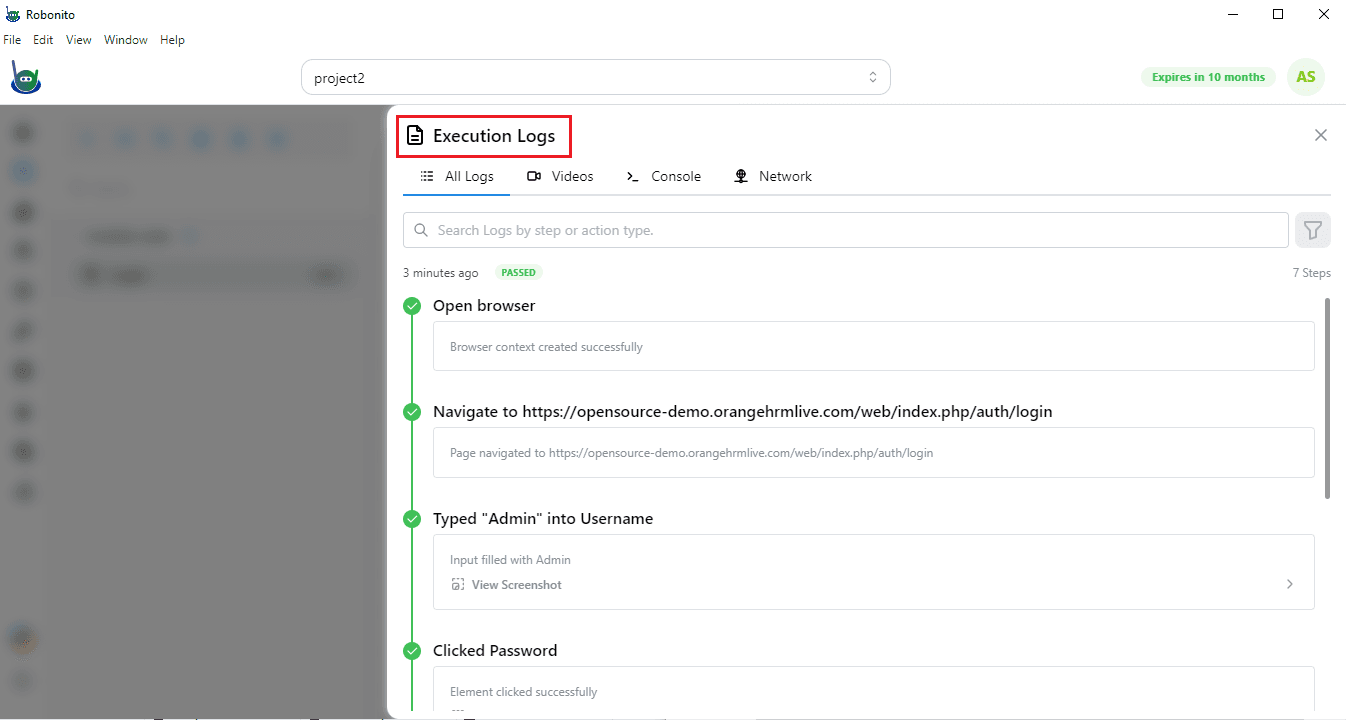
Step 5: Viewing Results
After the test finishes, Robonito shows the results. You will be taken to the Test Case Results page. Here, you can see a summary of your test run, including all the steps you performed. Each step shows its status. If a step failed, you can see why it failed.
Click on any step to view screenshots of what happened and watch a video of the test run in the execution logs. This helps you understand exactly how the test went.
It is easy to share the results with your team. You can view them in Robonito, download them, or send them by email, keeping everyone up to date.