Generate Executable Code for Your Test Cases in Robonito
Robonito is a simple software testing solution, where you can create, organize, and run all your test cases without any difficulty. It makes teamwork easier, c...

Introduction
Robonito is a simple software testing solution, where you can create, organize, and run all your test cases without any difficulty. It makes teamwork easier, covers all the important parts of testing, and gives you a clear view of how your tests are going.
Now, here’s the interesting part – Robonito code generation. With this feature, your test cases are turned into executable code. That means you are not limited to running them only inside Robonito. You can take the code and run it wherever you want.
Why is this helpful?
- You can run the generated code in tools like VS Code or connect it with your CI/CD pipeline.
- You can share the scripts with your developers so they can review or debug them.
- You can save the code in Git or any other version control system, just like your normal project files.
In simple words, this feature lets you create tests in Robonito and then use them outside too. And do not worry if you are just starting out. In this tutorial, we will walk you through step by step on how to generate executable code for your test cases in Robonito. Even if you are new, you will find it easy to follow along.
Steps to Generate Executable Code in Robonito
Prerequisites
Before you start, you need to have a test case already created for the feature you want to test in your workspace. Follow this document to get full details on how to do that.
Here’s the quick flow for creating a test case:
Test Explorer → Create Test Suite → Create Test Case → Add Test Case Details → Click on Create
Now, let us move on to generating executable code for your test cases in Robonito.
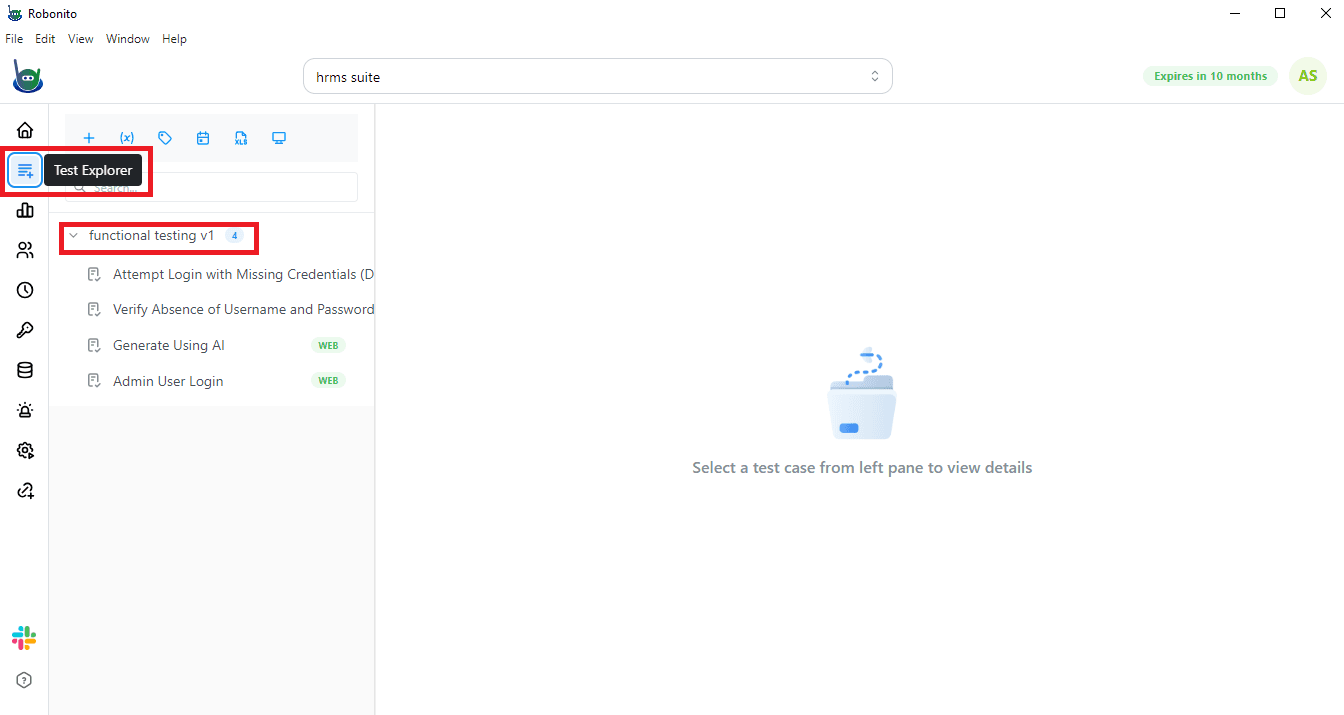
Step 1: Select the Test Case
Go to the Test Explorer and pick the test case you want to generate code for.
For example, here are some test cases created for functional testing of a website:
- Attempt Login with Missing Credentials
- Verify Absence of Username and Password Input Fields
- Generate Using AI
- Admin User Login
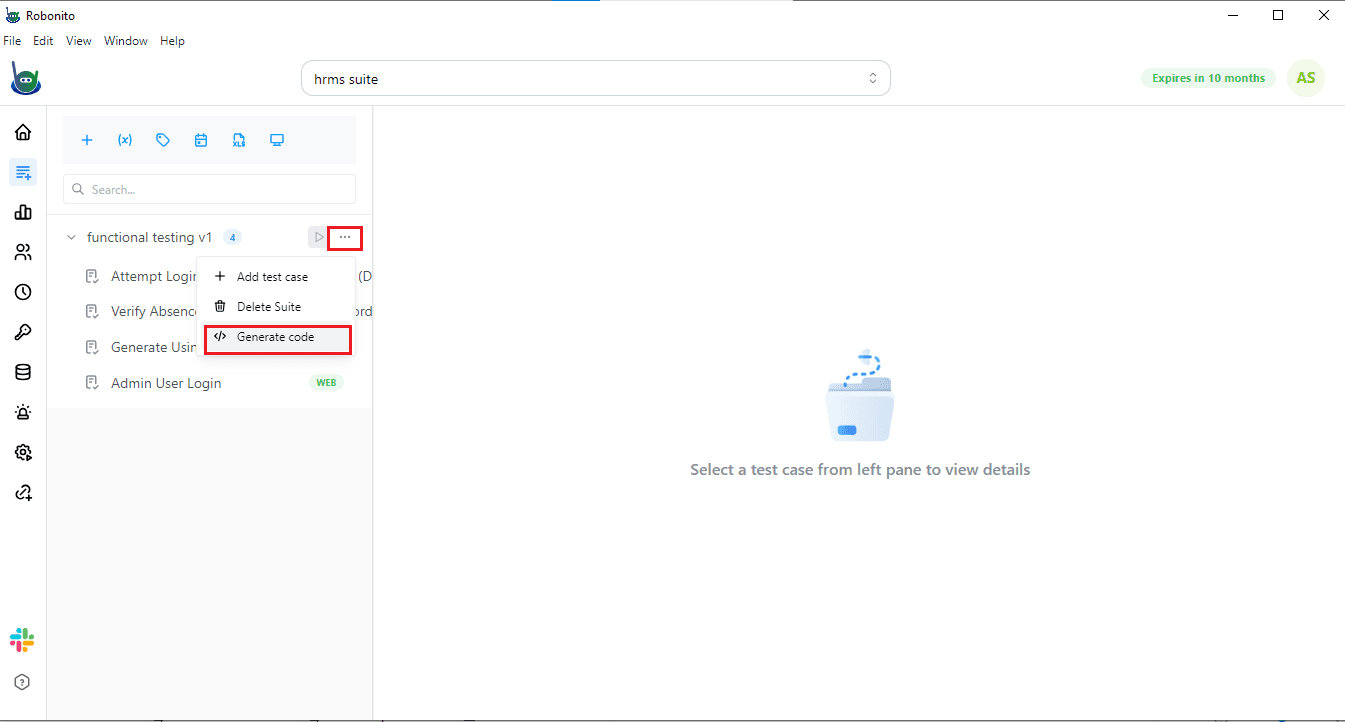
Step 2: Open the More Options Menu
Next to your test case, you will see a More options menu (...). Click on it.
Step 3: Choose "Generate Code"
From the dropdown, click on Generate Code.
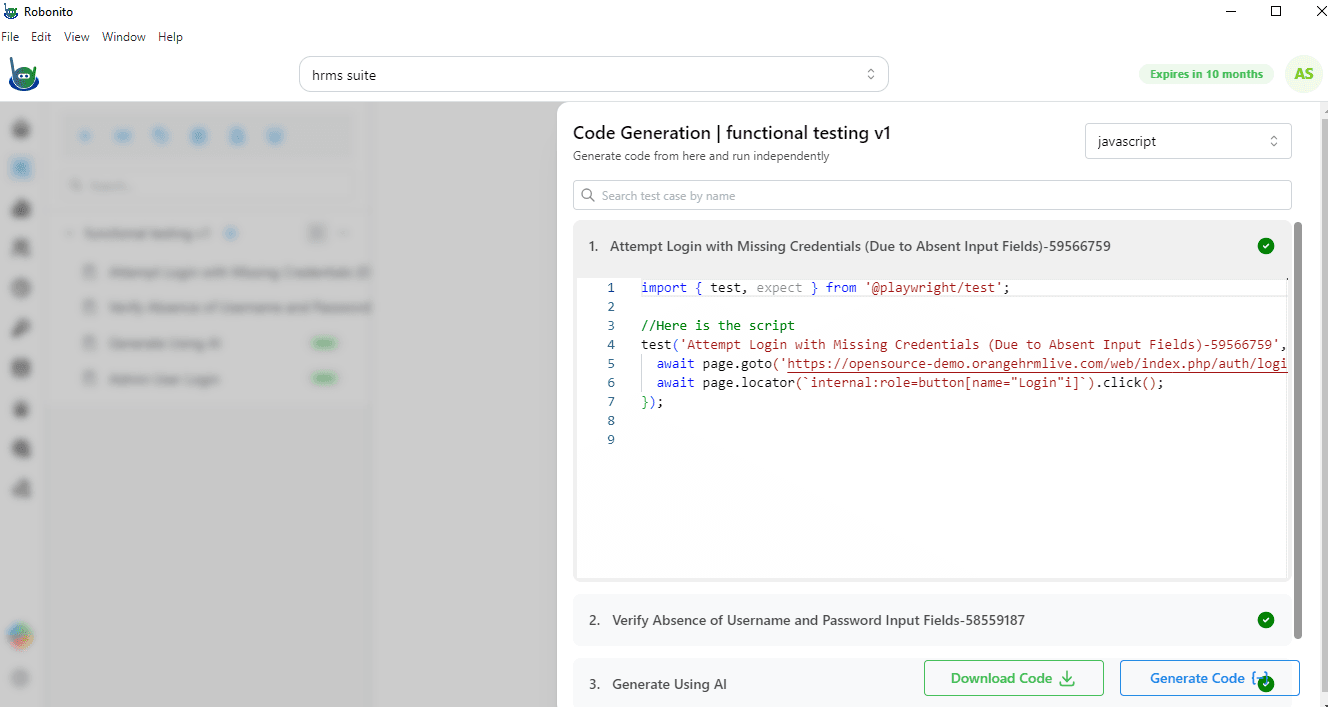
Step 4: View the Code Console
Once you click, a new console will open on the left side. Here, you will see the list of test cases for which the code will be generated in JavaScript.
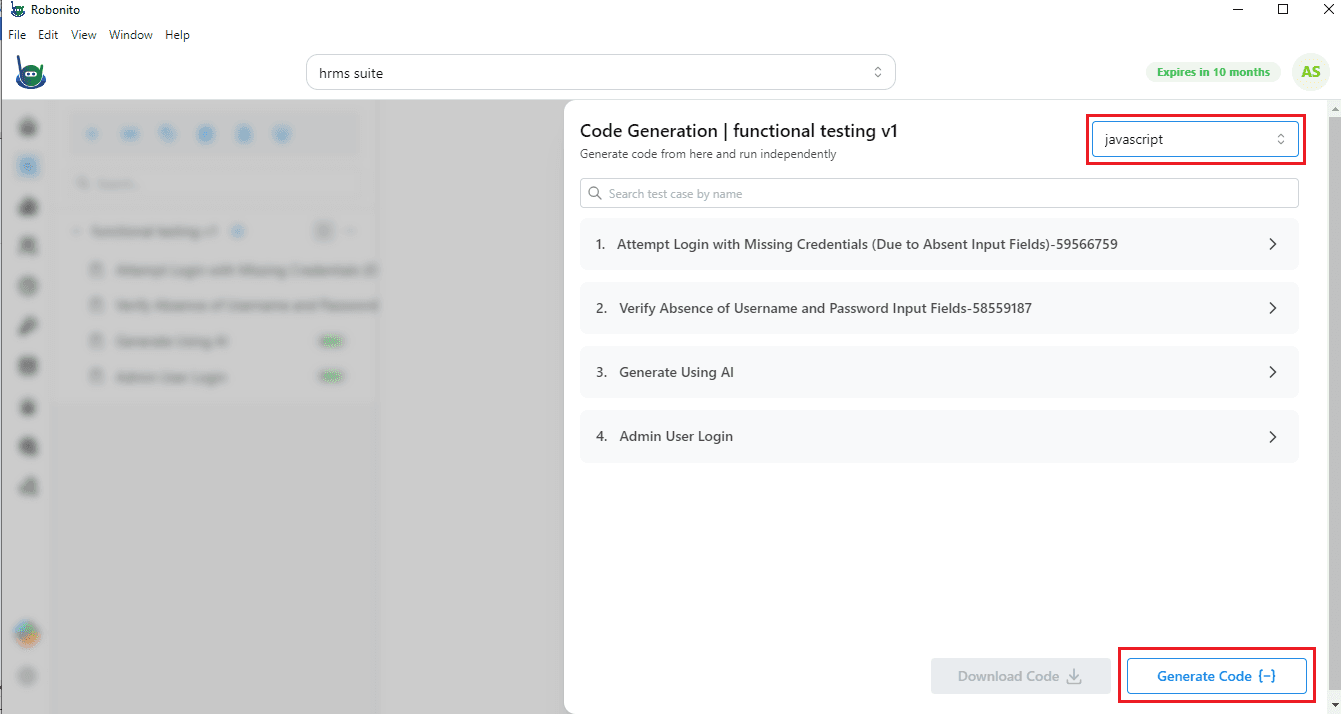
Step 5: Generate and Download
On the bottom-right corner, you will find a Generate Code button. Click on it.
- Once the code is ready, you can also download it to your system.
- You can view the generated code by clicking on any test case in the list.
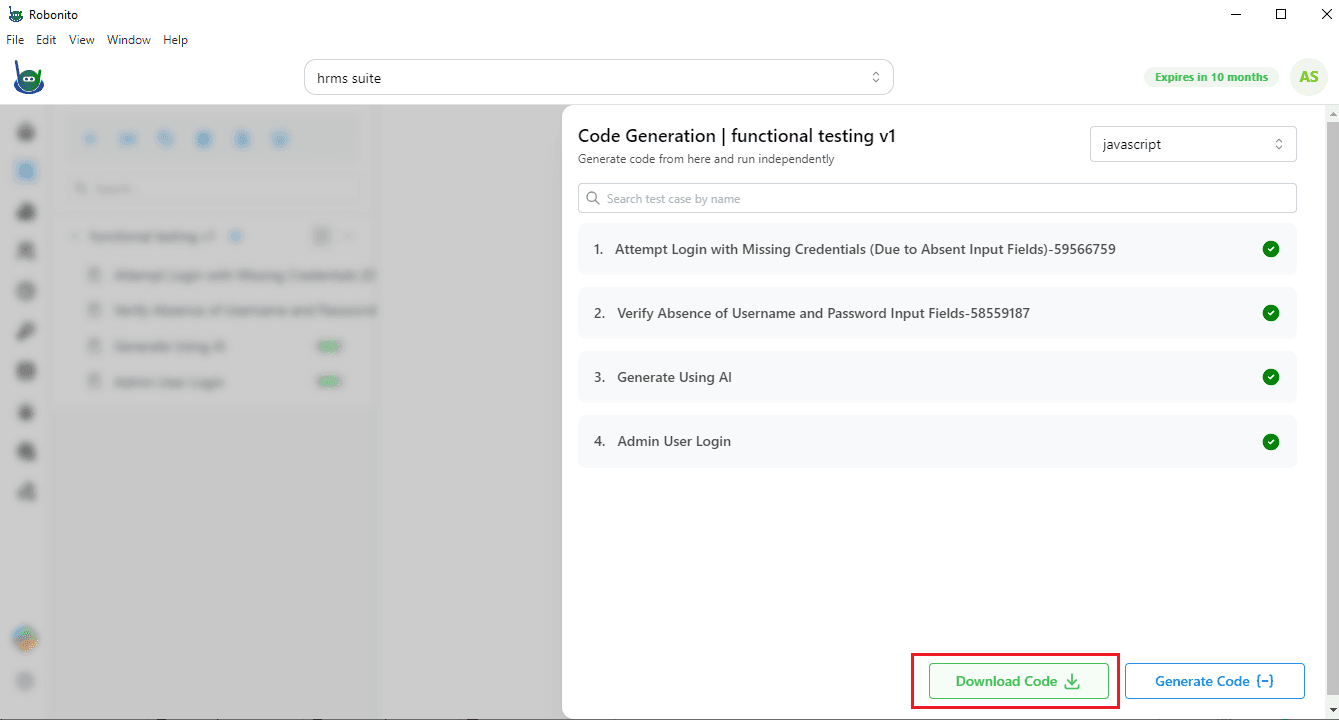
That is it! You now have executable code for your test case. This code can be run on different platforms, like VS Code or integrated into your workflow as needed.
Start Generating Code Today
Now that you know how to generate executable code in Robonito, it’s time to try it out yourself. Sign up for Robonito today and start creating test cases that you can turn into real, runnable code in just a few clicks.
With this feature, your tests are no longer just ideas on a screen—they become scripts you can run, share, and use anywhere you want. Don’t wait—sign up and start generating code with Robonito now!